
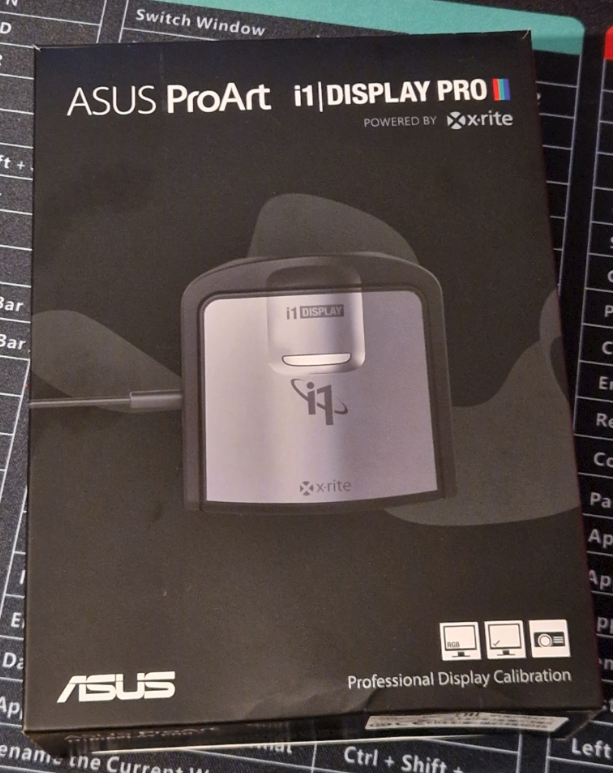
My new‑to‑me “Asus ProArt-Branded” X‑Rite i1 Display Pro colorimeter arrived in the post yesterday, so I figured I’d write a bit about the installation and calibration process. £100 felt like a lot of money to drop on such a tiny, second hand gadget, but it’s such a critical part of any photographer’s workflow that it couldn’t be avoided – especially after the recent passing of my Spyder 5 from Datacolor.
Before I could even think about calibration, however, I had to assemble the modern equivalent of the old X‑Rite workflow. Most colour‑critical professionals use Calibrite Profiler or the older X‑Rite i1Profiler, because they’re the officially supported, vendor‑validated tools. But Calibrite, who now own the X‑Rite hardware line, no longer provide the legacy i1Profiler utilities unless you pay an upgrade fee (around £60) for their new ecosystem. The software didn’t come with the device, and it’s no longer downloadable.
Instead, DisplayCAL has become the de‑facto tool for enthusiasts and anyone who wants more control than the vendor software allows. It’s paired with ArgyllCMS, which sits underneath it as the engine that actually drives the measurements. Installing both is straightforward: DisplayCAL provides the interface, ArgyllCMS provides the muscle.
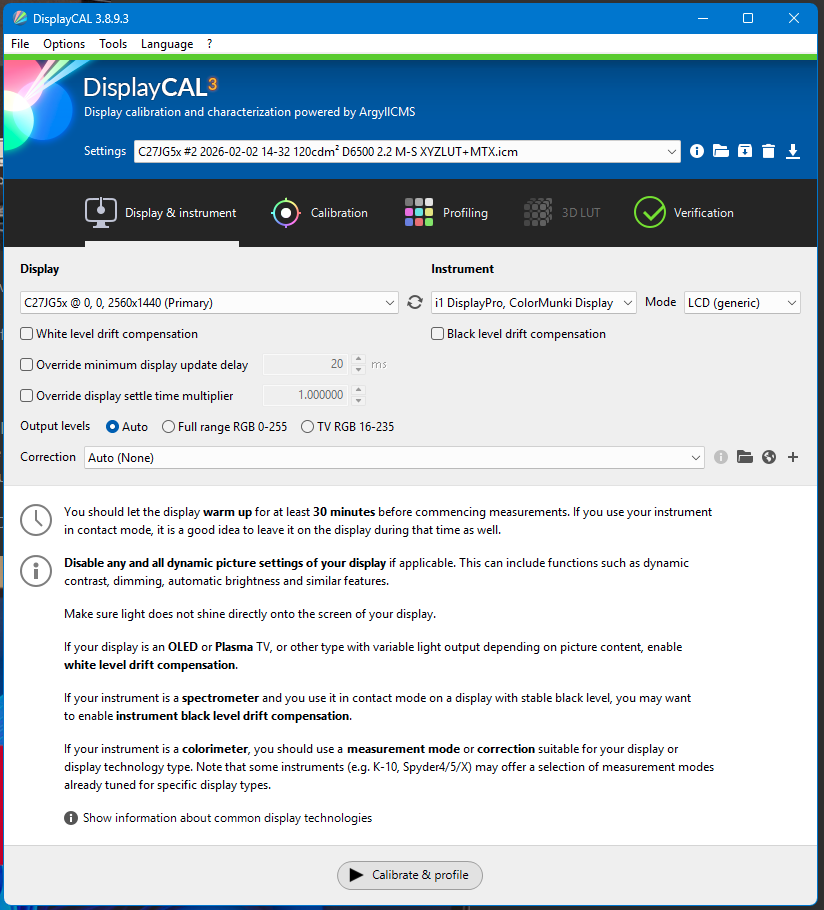
At this stage, everything looked okay. DisplayCAL recognised the device immediately, listed it in the instrument dropdown, and felt ready to begin. I connected my i1Display Pro, hung it over the monitor using the counterweight strap and hit “Calibrate & Profile”.
I expected the usual sequence: the ArgyllCMS measurement window, the familiar colour swatches, the slow march through the calibration routine, but that’s not what happened. The device was visible, but the calibration was throwing an error – and that’s when I started to doubt my decision to buy a second‑hand instrument.
DisplayCAL could see the i1Display Pro, but ArgyllCMS couldn’t actually use it. The moment I tried to start a calibration, the process collapsed with the vague error:
new_disprd() failed with "Instrument Access Failed"
No measurement window, no swatches, no activity – just a refusal to begin. DisplayCAL was handing the device off to ArgyllCMS, and ArgyllCMS was immediately bouncing it back.
“Instrument Access Failed!?!?!?”…
Panicking that I’d bought an expensive paperweight, I dug into Device Manager to see if this device had fallen off its perch in the same way as my Spyder. Thankfully, the hardware ID correctly identified it as USB ID 0765:5020 – indicating at least a superficially functioning colorimeter. The real cause only became clear once I checked the driver settings: Windows 11 had paired the i1Display Pro with a generic HID driver. DisplayCAL could enumerate the device at a high level, but ArgyllCMS saw it as nothing more than a “dumb keyboard”.
The fix was to replace the Windows driver with libusb‑win32 using the driver‑swapping tool Zadig. Once I selected the device (it appeared as i1 Display 3, USB ID 0765:5020) and swapped the driver, everything fell into place. After reconnecting the device, DisplayCAL launched the ArgyllCMS measurement window without hesitation, the swatches appeared, and the calibration finally began.
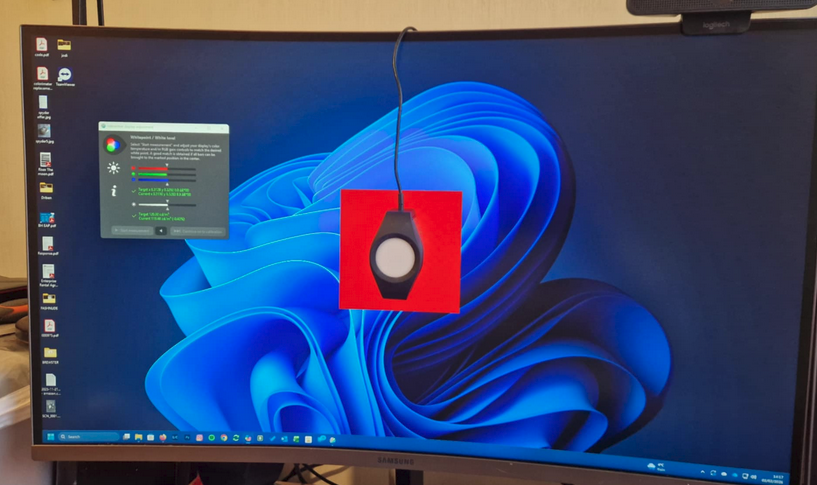
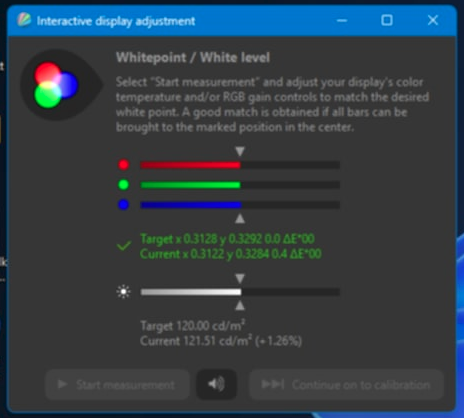
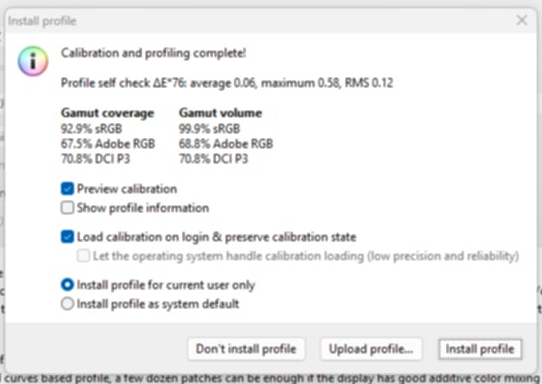
The sensor cycled effortlessly through the greyscale ramps, then the primaries, then the long sequence of colour patches. After the profiling pass, DisplayCAL generated the ICC profile and installed it cleanly into Windows’ colour‑management system
One thing that surprised me was how different the calibrated display felt compared to the “showroom mode” I’d been working with for years. My monitor had always run at full brightness with a punchy, contrast‑heavy, perceptually neutral look – great for browsing, terrible for colour accuracy. Once the calibration completed, the screen immediately looked dimmer, flatter, almost disappointingly muted. But that’s the whole point. A calibrated display isn’t trying to impress you; it’s trying to be honest, and the moment I compared it to my printed work, the difference was obvious. My prints had always come out far darker than expected, forcing me to pre‑emptively brighten everything in Photoshop just to compensate. With the calibrated profile in place, the screen finally matched the real‑world output. What looked “dull” was actually “correct,” and the more I sat with it, the more natural it felt.
Calibrating the displays solved the colour‑accuracy problem, but it also reminded me that I use my PC for a lot more than colour‑managed work in Photoshop and Lightroom. I didn’t want to live permanently in “calibrated mode”, nor did I want to dive into each monitor’s fiddly little joystick every time I needed a brighter, punchier “office mode”. That sent me down a different rabbit hole entirely: controlling my displays programatically, via DDC/CI, and eventually building an AutoHotKey script that lets me switch modes instantly with a single keystroke.
In the next post, I’ll share the script, the DDC/CI commands, and the presets I built. It’s a surprisingly powerful way to take control of your workspace.